
좀더 가벼운 개발환경, 또는 맥의 개발환경과 윈도우의 개발환경을 통일시키기 위해서 윈도우에서도 VSCode 사용을 원하는 사람들이 많다.
오늘은 VSCode에서 C/C++ 컴파일 및 디버깅 환경을 구축하는 방법에 대해 안내해 보겠다.
- MinGW64 설치하기
https://sourceforge.net/projects/mingw-w64/files/mingw-w64/
위 링크로 접속 후
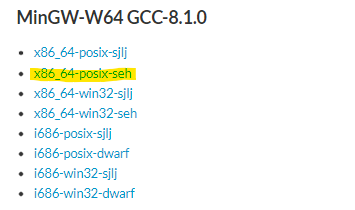
최신 버전 MinGW의 x86_64-posix-seh를 다운로드 해주면 된다.
이 때 이 파일은 64비트용 컴파일러이고 32비트 컴파일러가 필요한 사람은 i686-posix-dwarf를 선택해주면 된다.
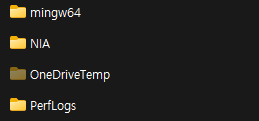
다운로드 후 압축을 해제해주고 mingw64라는 폴더를 복사해서 C드라이브로 옮겨준다.
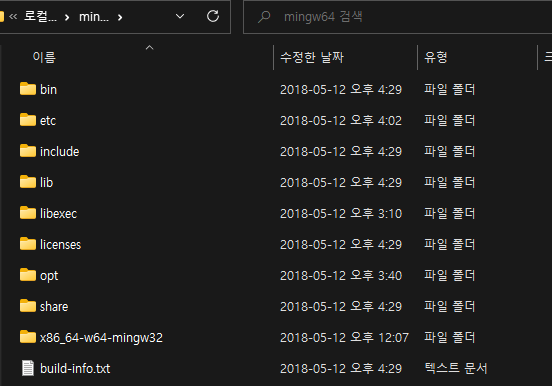
이 때 혹시 모르니 mingw64 폴더안에 위 이미지와 동일한 파일들이 있는지 확인해보는게 좋다.
- 환경변수 설정하기
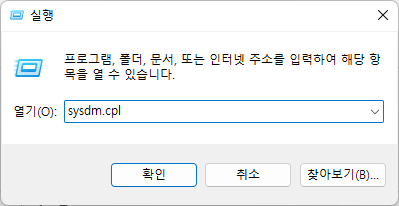
윈도우키 + R을 눌러 실행을 연 후 sysdm.cpl을 입력하고 확인을 눌러주고
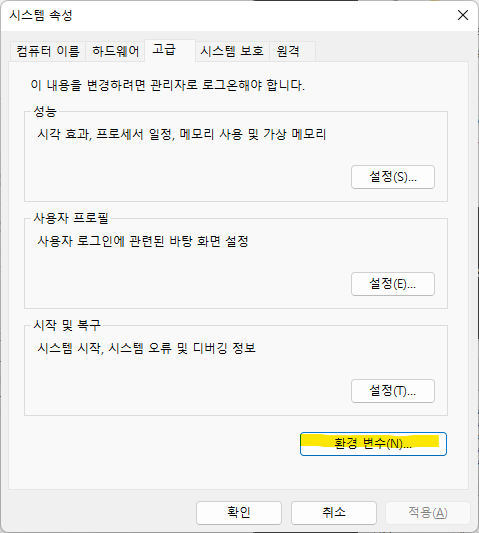
시스템 속성에서 고급 -> 환경변수로 들어가서 환경변수 창을 열어주고

환경변수 창에서 시스템 변수 -> Path -> 편집을 눌러준 뒤

새로 만들기를 누르고 ‘C:\mingw64\bin’를 입력하고 확인을 눌러준다.
여기까지 완료했다면 컴퓨터 다시시작을 한번 해주고
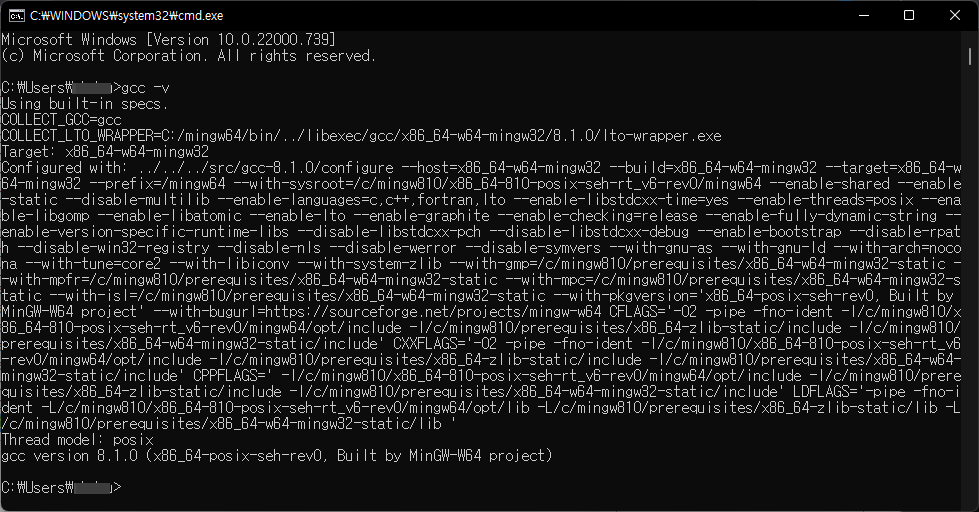
cmd창에 ‘gcc -v’를 입력해서 위 이미지처럼 GCC 컴파일러가 제대로 적용이 되었는지 확인해준다.
- VSCode 설정하기
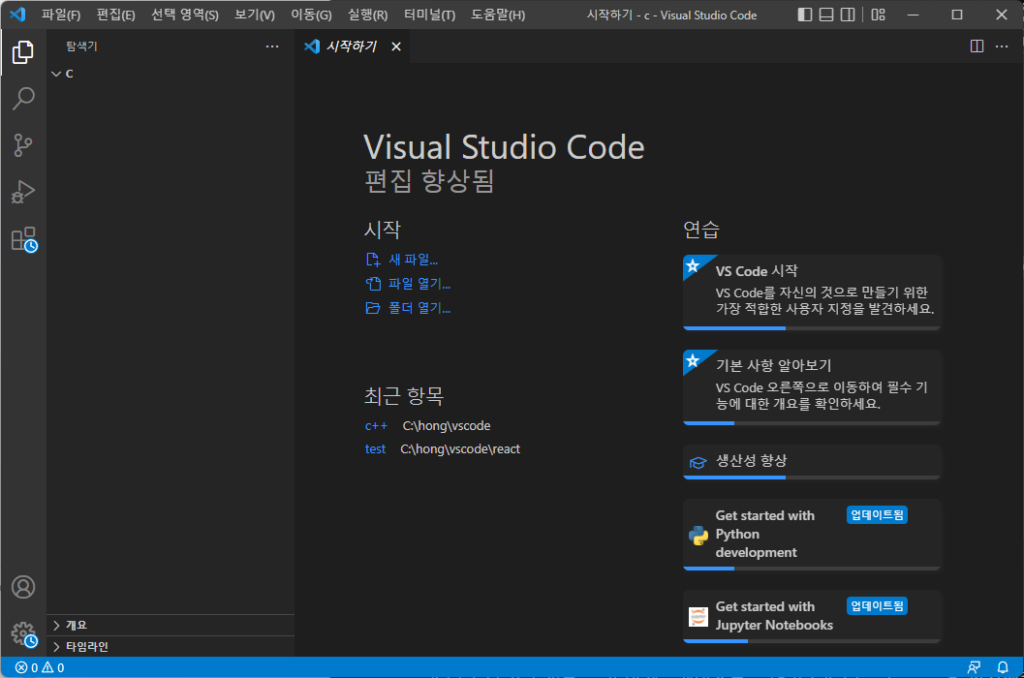
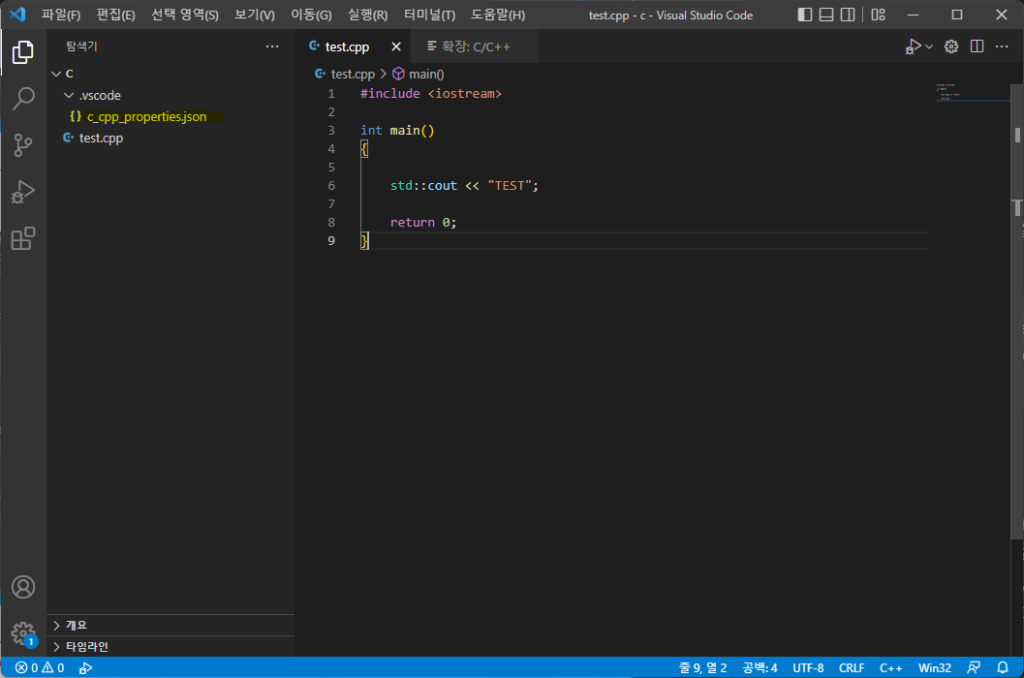
VSCode를 열고 c 또는 c++ 파일을 생성할 임의의 폴더를 열고
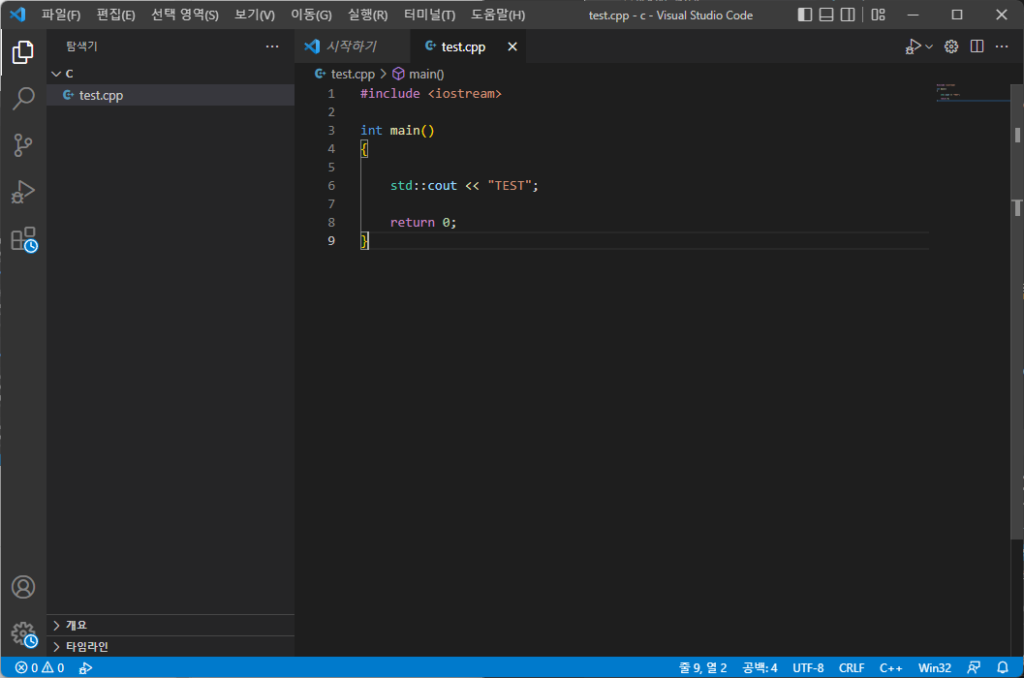
임의의 c코드를 작성해준다.
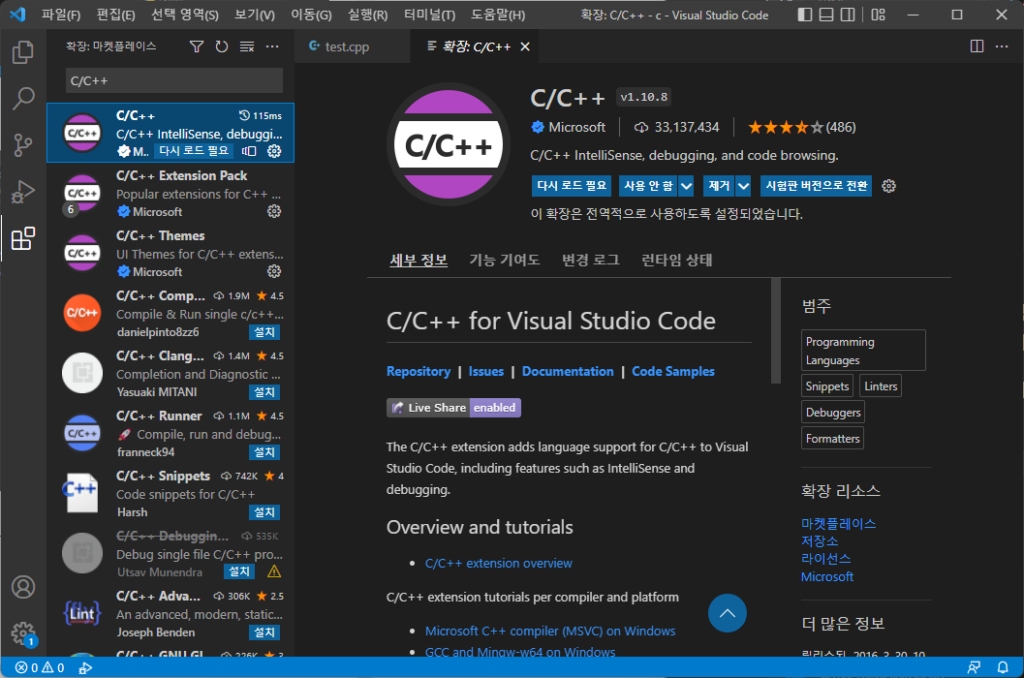
그리고 ctrl + shift + x를 눌러 마켓플레이스에 들어가 C/C++ 익스텐션을 설치해준뒤
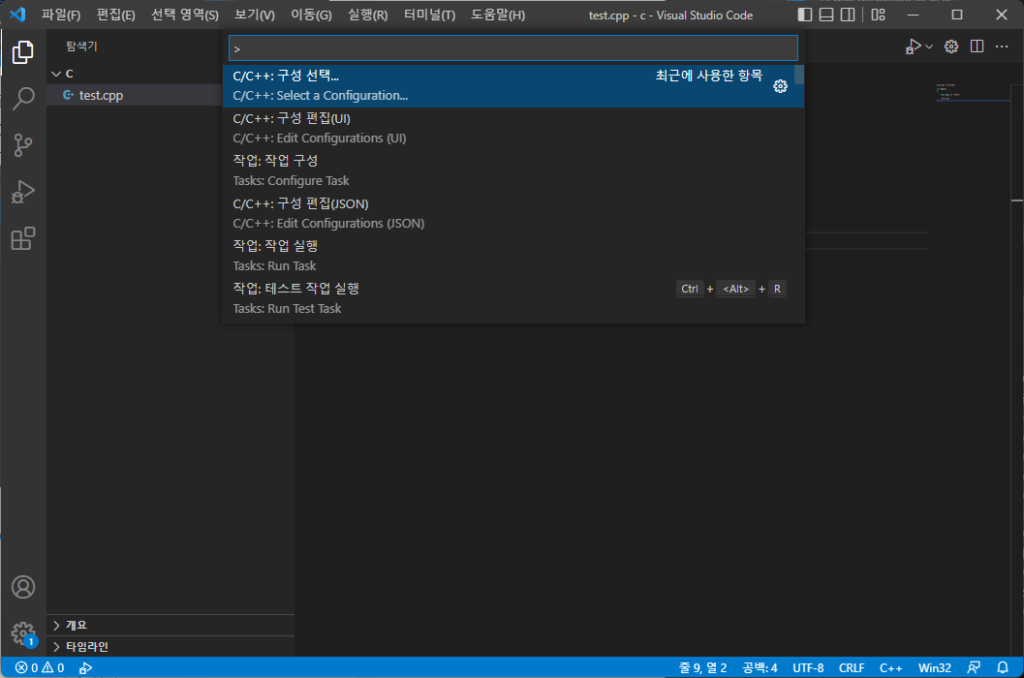
ctrl + shift + p를 눌러 나오는 검색창에 ‘C/C++’을 입력해 나오는 ‘C/C++ 구성선택’을 클릭 후
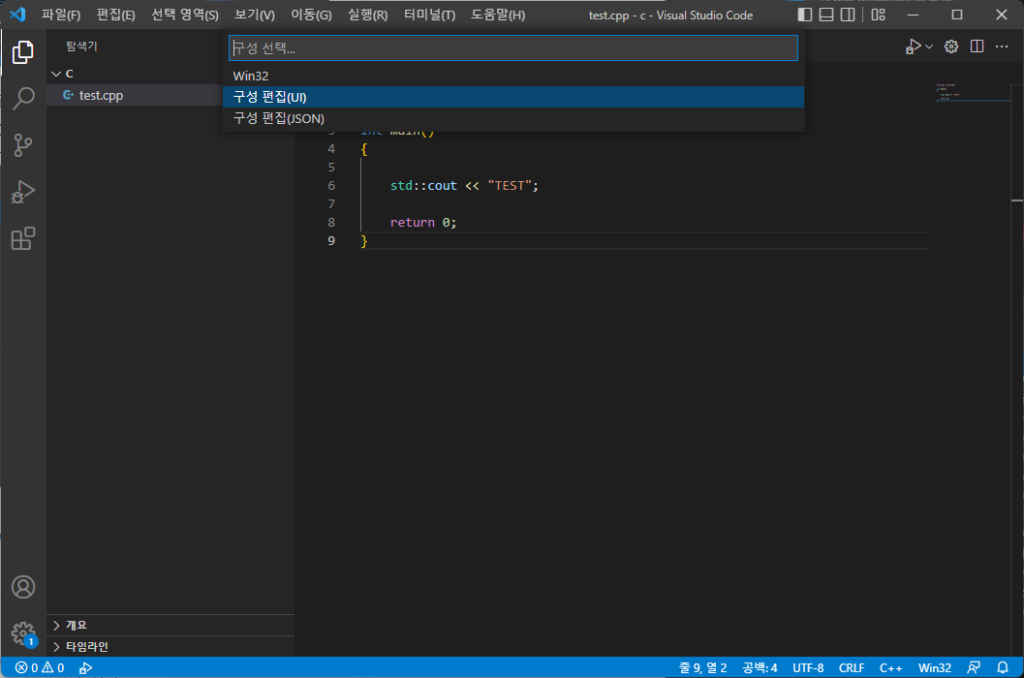
구성편집(UI)를 선택해준다.
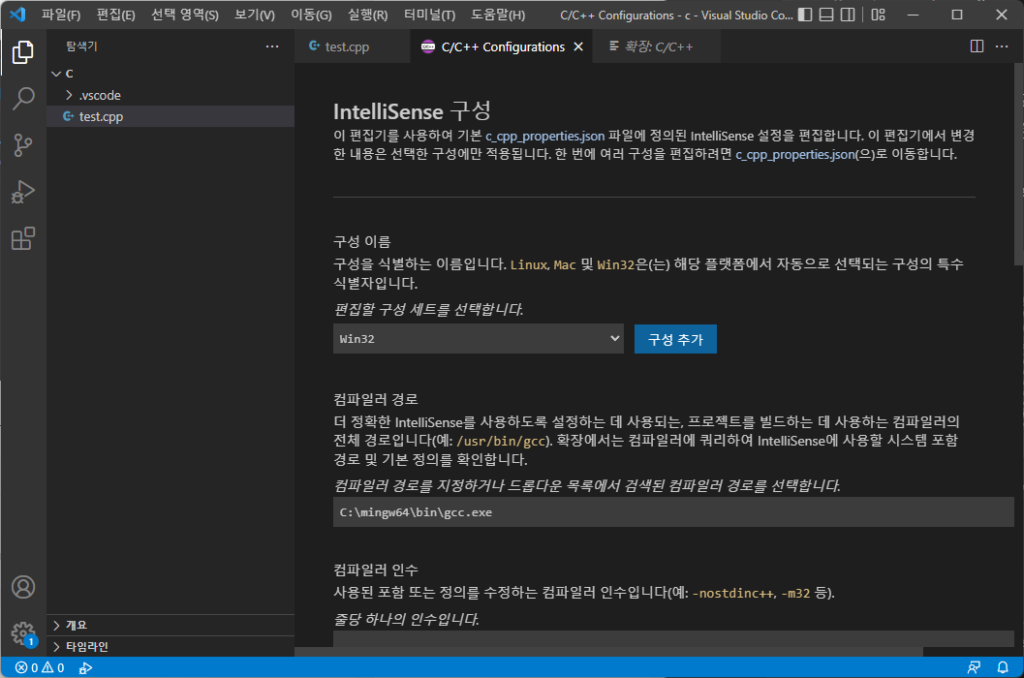
그럼 위와 같은 설정창이 나오게 되는데
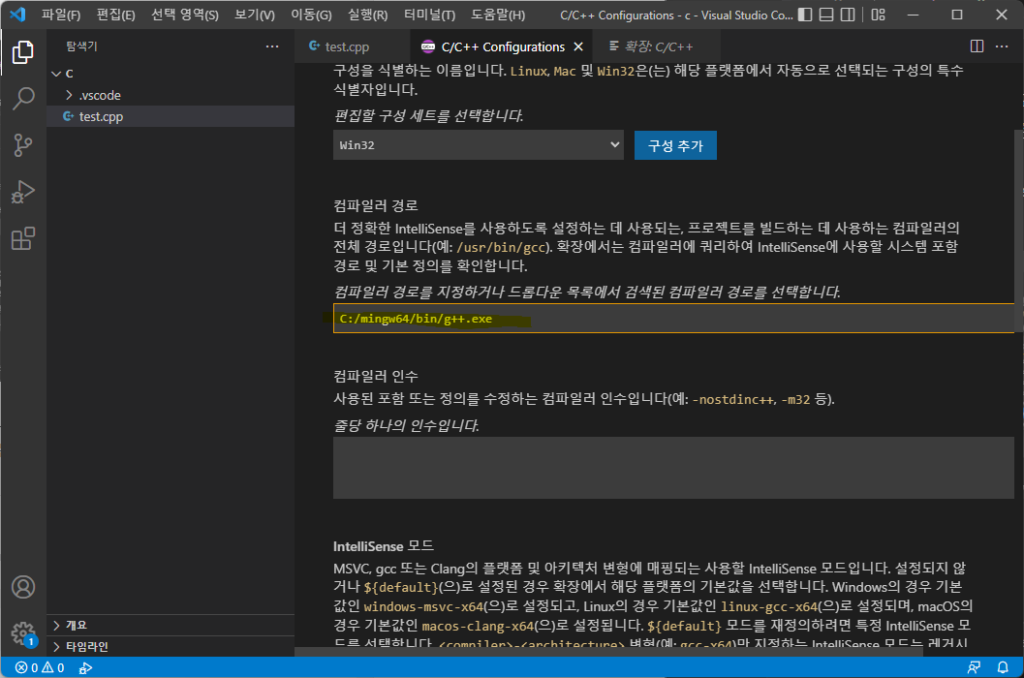
컴파일러 경로에 C만 컴파일 하는 경우는 ‘C:/mingw64/bin/gcc.exe’를 입력해주고 C와 C++모두를 컴파일 하는 경우는 ‘C:/mingw64/bin/g++.exe’를 입력해준다.
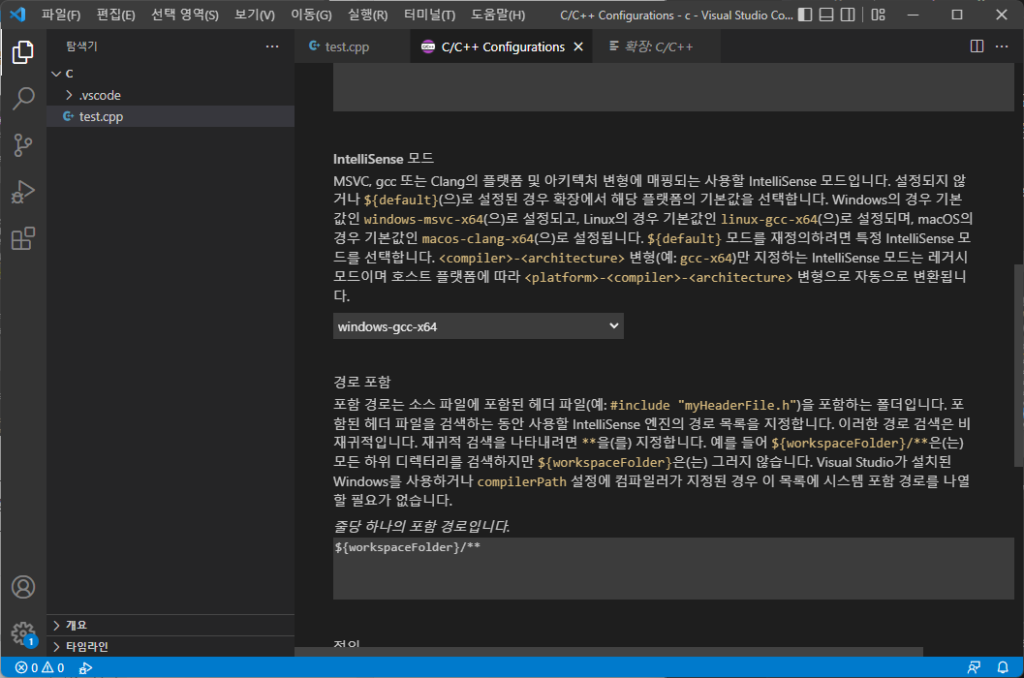
그리고 아래로 내려서 IntelliSense같은 경우에는 ‘windows-gcc-x64’를 선택해준다.
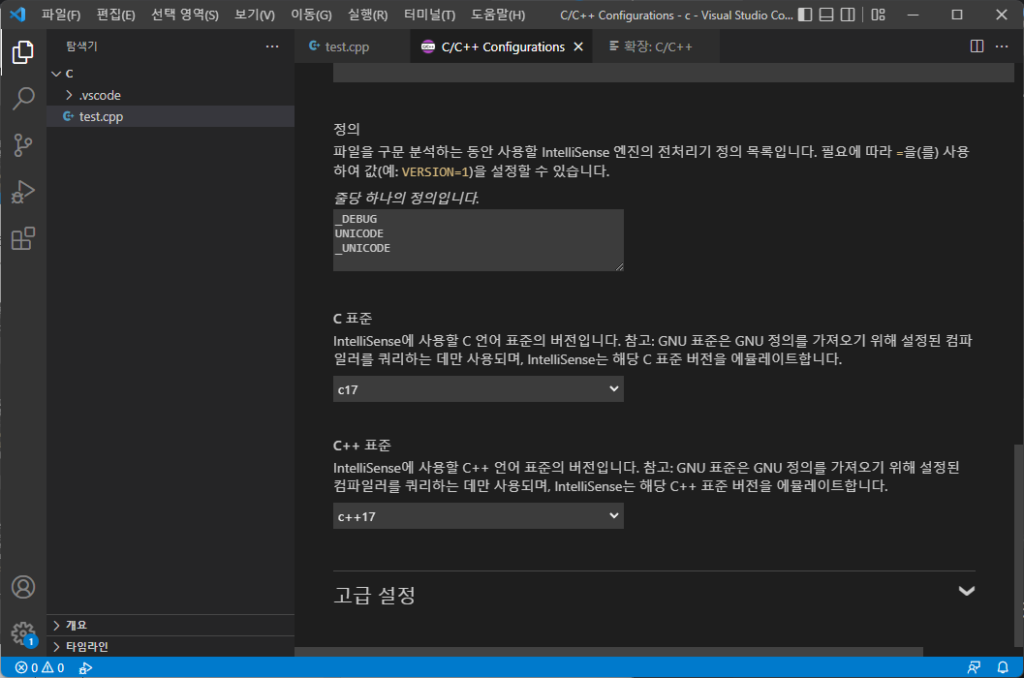
그리고 더 아래로 내려서 C/C++ 표준은 사용하는 표준이 있다면 본인이 사용하는 표준으로 입력해주고 그냥 남들 쓰는대로 사용한다면 C표준은 c17, C++ 표준은 c++ 17을 선택해준다.
설정을 모두 한 뒤 C/C++ Configurations창을 닫고나면 폴더내의 .vscode라는 디렉토리에 ‘c_cpp_properties.json’파일이 생성되게된다.
이 파일은 방금 설정한 내용을 json 형태로 출력한 파일이다.
- 코드 컴파일 / 디버깅
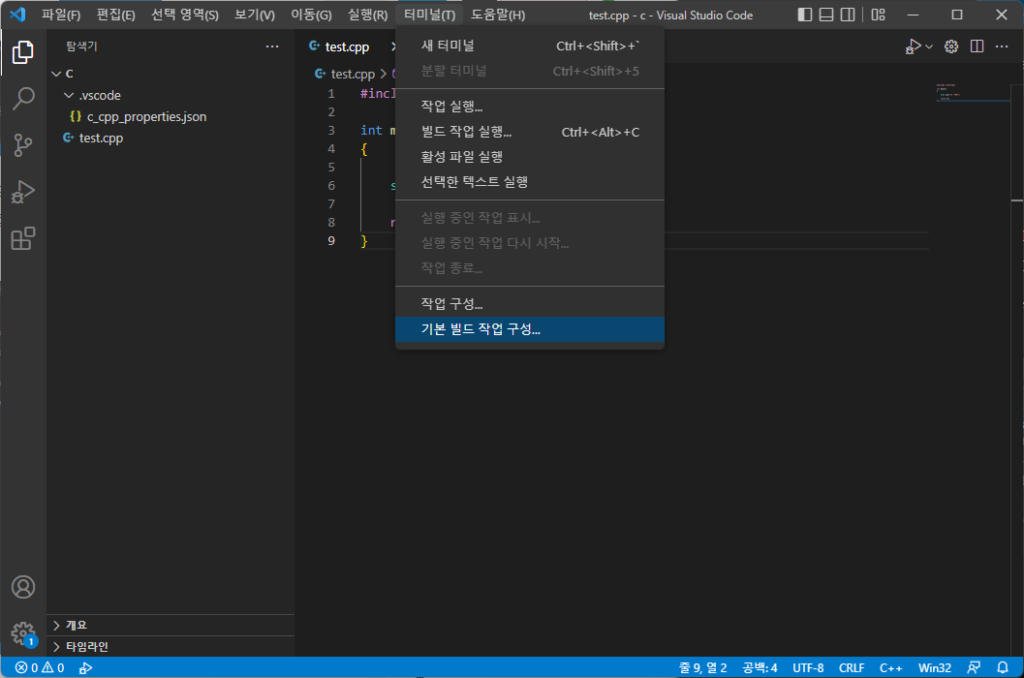
VSCode의 상단 메뉴바에서 터미널 -> 기본빌드 작업구성을 클릭해주고
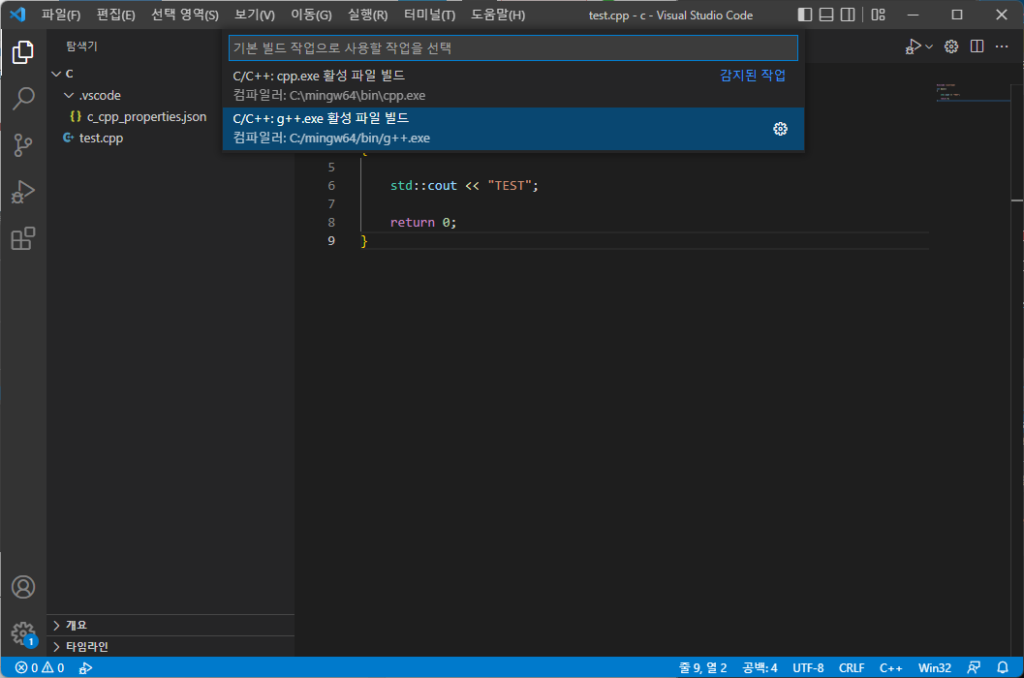
C를 컴파일 한다면 gcc를 C++를 컴파일 한다면 g++.exe 활성 파일 빌드를 클릭해주면 (활성 파일 빌드라는 메뉴가 없으면 gcc or g++ 선택후 ‘템플릿에서 tasks.json파일 만들기’ -> ‘Others’ 선택)
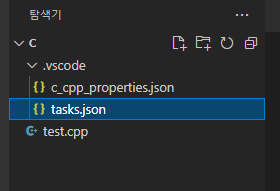
생성된 task.json 파일로 들어가서 내부의 내용을 모두 지워준 후
1 2 3 4 5 6 7 8 9 10 11 12 13 14 15 16 17 18 19 20 21 22 23 24 25 26 27 28 29 30 31 32 33 34 35 36 37 38 39 40 41 42 43 44 45 46 47 48 49 50 51 52 53 54 55 56 57 58 59 60 61 62 63 64 65 66 67 68 69 70 71 72 73 74 75 76 77 78 79 80 81 82 83 84 85 86 87 88 89 90 91 92 93 | { “version”: “2.0.0”, “runner”: “terminal”, “type”: “shell”, “echoCommand”: true, “presentation”: { “reveal”: “always” }, “tasks”: [ { “label”: “save and compile for C++”, “command”: “g++”, “args”: [ “${file}”, “-g”, “-o”, “${fileDirname}/${fileBasenameNoExtension}” ], “group”: “build”, “problemMatcher”: { “fileLocation”: [ “relative”, “${workspaceRoot}” ], “pattern”: { “regexp”: “^(.*):(\\d+):(\\d+):\\s+(warning error):\\s+(.*)$”, “file”: 1, “line”: 2, “column”: 3, “severity”: 4, “message”: 5 } } }, { “label”: “save and compile for C”, “command”: “gcc”, “args”: [ “${file}”, “-g”, “-o”, “${fileDirname}/${fileBasenameNoExtension}” ], “group”: “build”, “problemMatcher”: { “fileLocation”: [ “relative”, “${workspaceRoot}” ], “pattern”: { “regexp”: “^(.*):(\\d+):(\\d+):\\s+(warning error):\\s+(.*)$”, “file”: 1, “line”: 2, “column”: 3, “severity”: 4, “message”: 5 } } }, { “label”: “execute”, “command”: “cmd”, “group”: “test”, “args”: [ “/C”, “${fileDirname}\\${fileBasenameNoExtension}” ] }, { “type”: “cppbuild”, “label”: “C/C++: g++.exe 활성 파일 빌드”, “command”: “C:/mingw64/bin/g++.exe”, “args”: [ “-fdiagnostics-color=always”, “-g”, “${file}”, “-o”, “${fileDirname}\\${fileBasenameNoExtension}.exe” ], “options”: { “cwd”: “C:/mingw64/bin” }, “problemMatcher”: [ “$gcc” ], “group”: { “kind”: “build”, “isDefault”: true }, “detail”: “디버거에서 생성된 작업입니다.” } ] } | cs |
위 내용을 복사해서 붙여주고 ctrl + s로 저장을 해준다.
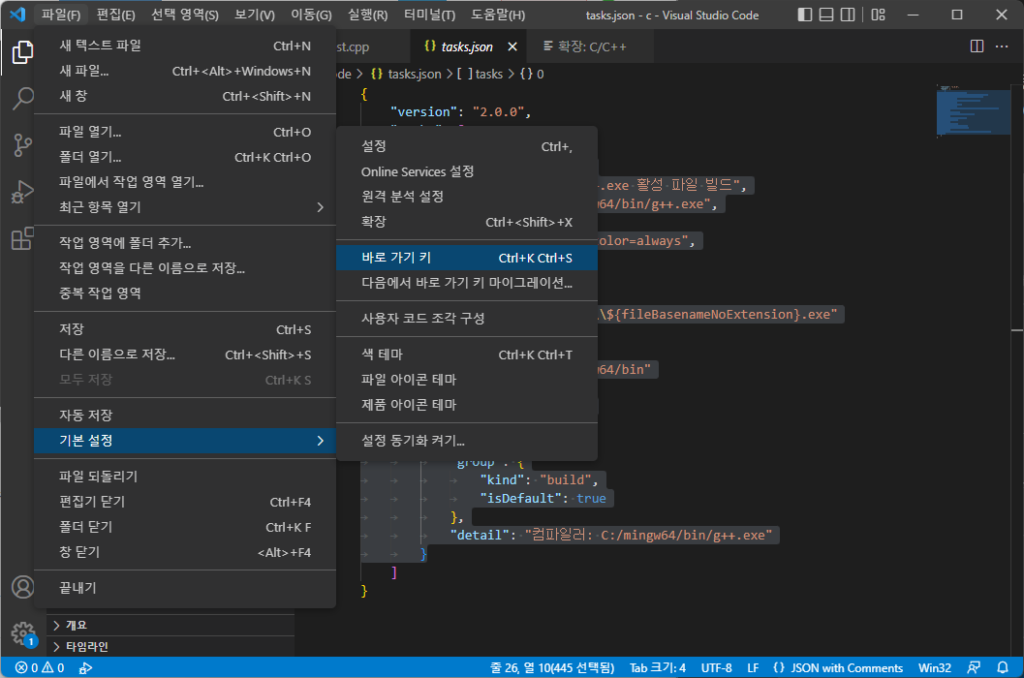
다음은 컴파일에 대한 단축키를 등록을 해줘야하는데 VSCode의 상단 메뉴바에서 파일 -> 기본설정 -> 바로가기 키로 들어가주고
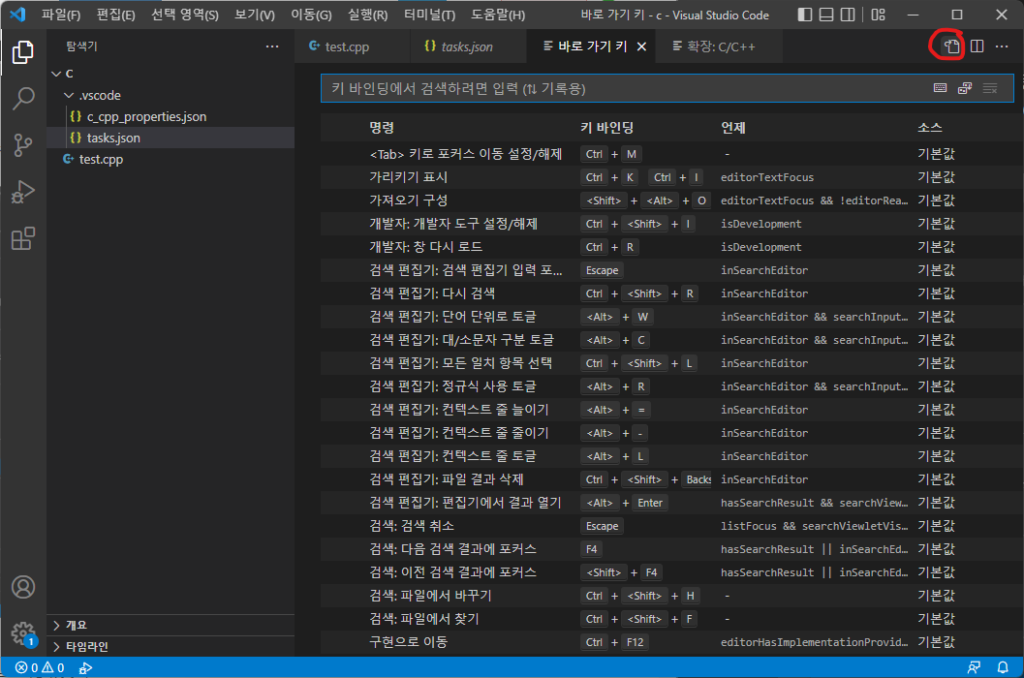
위 이미지에 빨간펜으로 표시한 바로가기 키 열기(JSON) 으로 들어가준 뒤
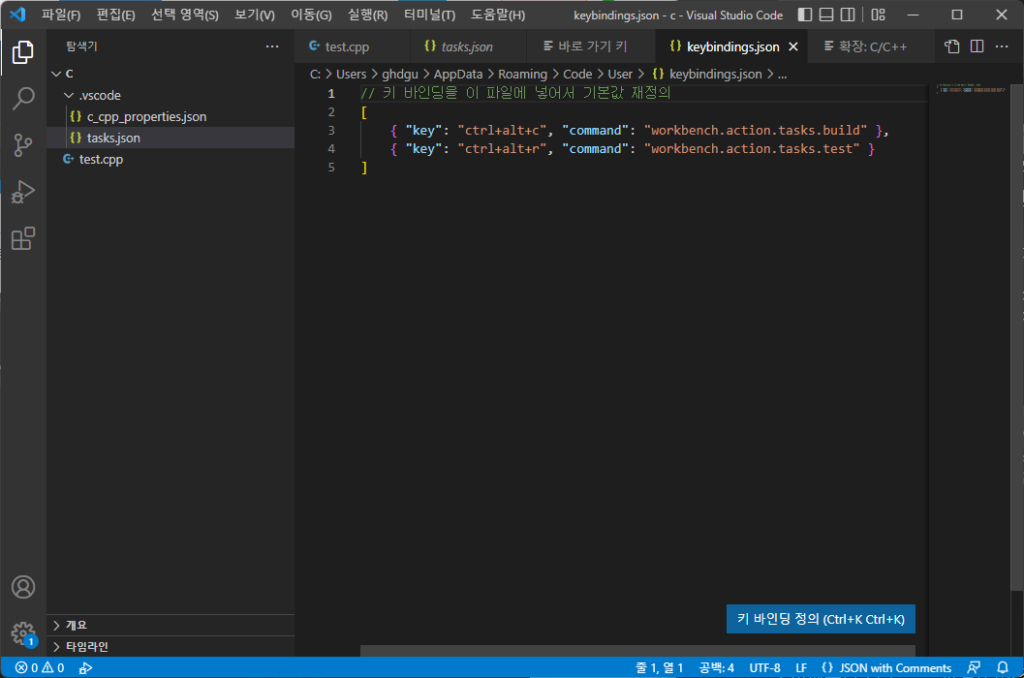
keybindings.json 내부의 내용을 다 지우고
1 2 3 4 5 | // 키 바인딩을 이 파일에 넣어서 기본값 재정의 [ { “key”: “ctrl+alt+c”, “command”: “workbench.action.tasks.build” }, { “key”: “ctrl+alt+r”, “command”: “workbench.action.tasks.test” } ] | cs |
위 내용을 입력해주고 ctrl + s로 저장을 해주면 단축키 설정은 끝이다.
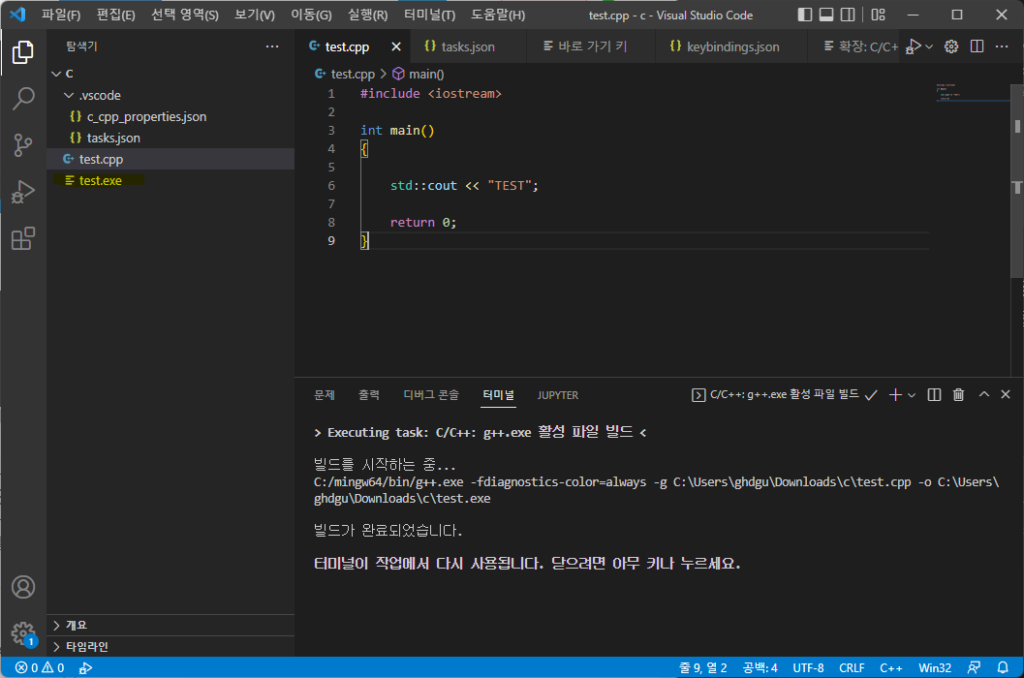
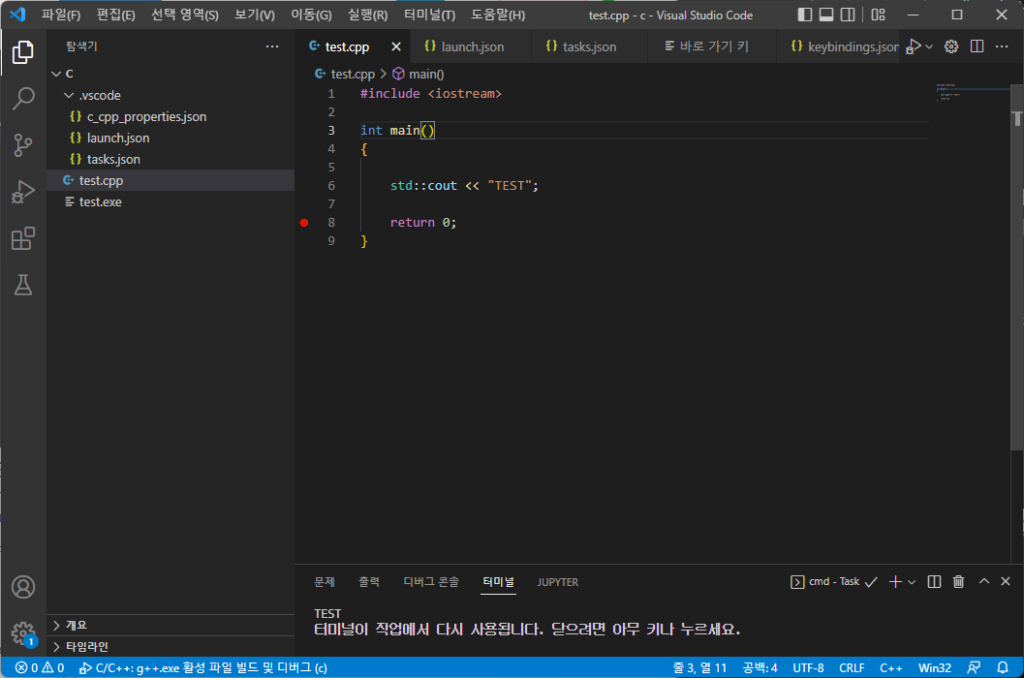
이제 C/C++ 코드를 컴파일을 해볼건데 C/C++ 파일로 돌아가서 아까 단축키로 지정한 ctrl + alt + c를 눌러서 컴파일을 진행해주면 좌측 탐색기에 ~.exe의 실행파일이 생성된 것을 볼 수 있다.
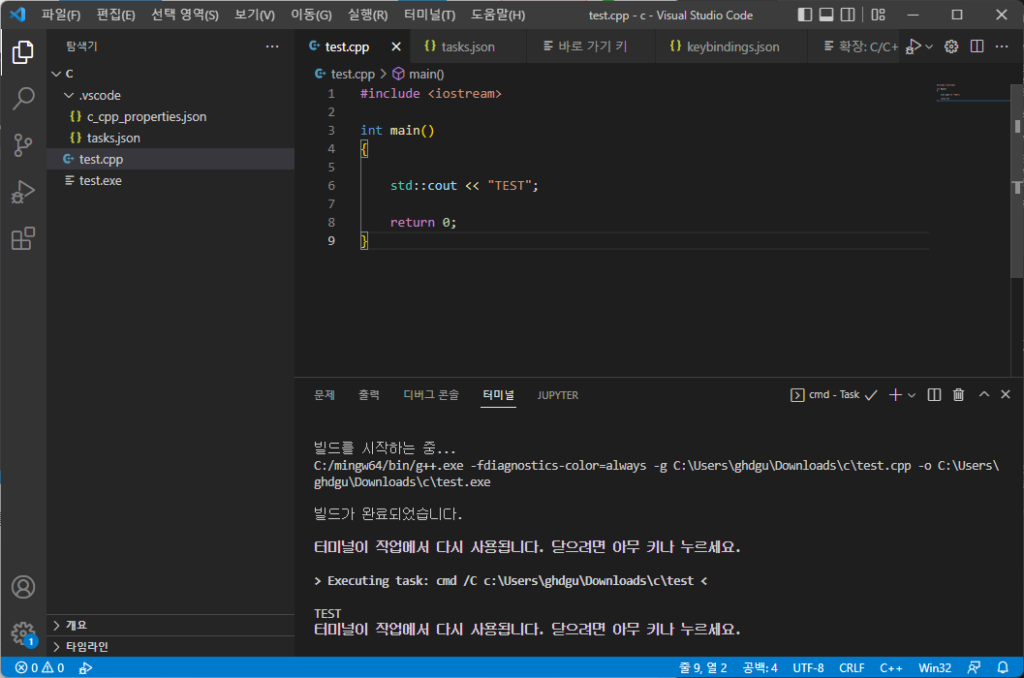
이제 생성된 실행파일을 실행하기 위해서 C/C++ 파일에서 이번엔 아까 단축키로 지정한 ctrl + alt + r을 누르면 터미널에서 코드의 실행을 확인할 수 있다.
하지만 비주얼스튜디오를 사용하던 사람들에겐 F5를 누르면 나오는 cmd 창이 더 익숙할텐데 VSCode에서도 cmd 창을 통해서 출력을 확인하기 위해선 추가적인 작업이 필요하다.
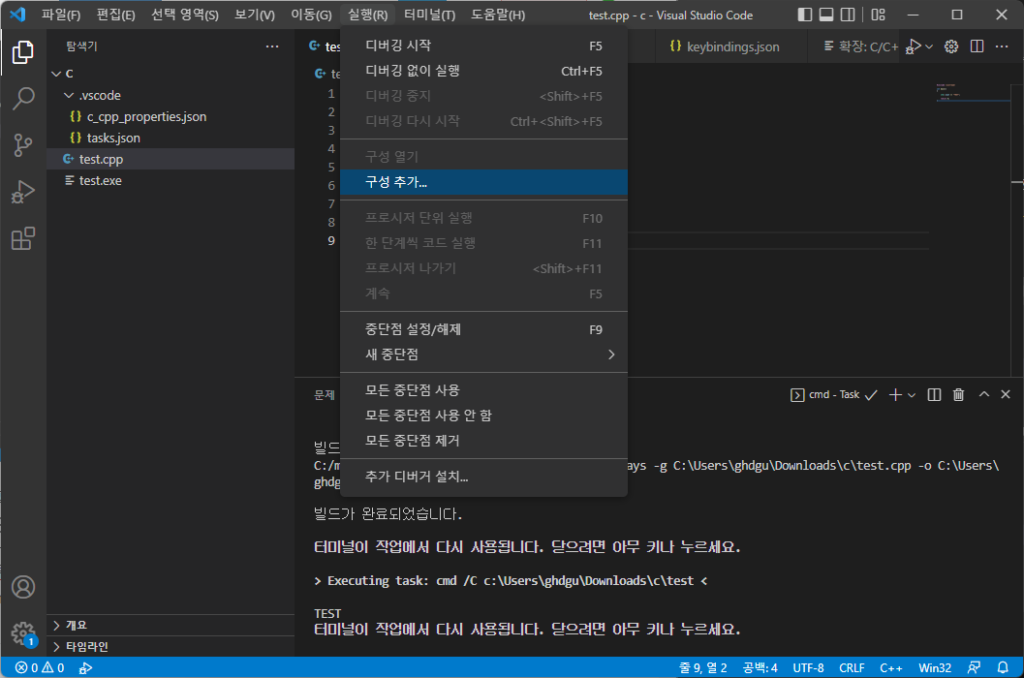
상단 메뉴에서 실행 -> 구성추가를 클릭 후
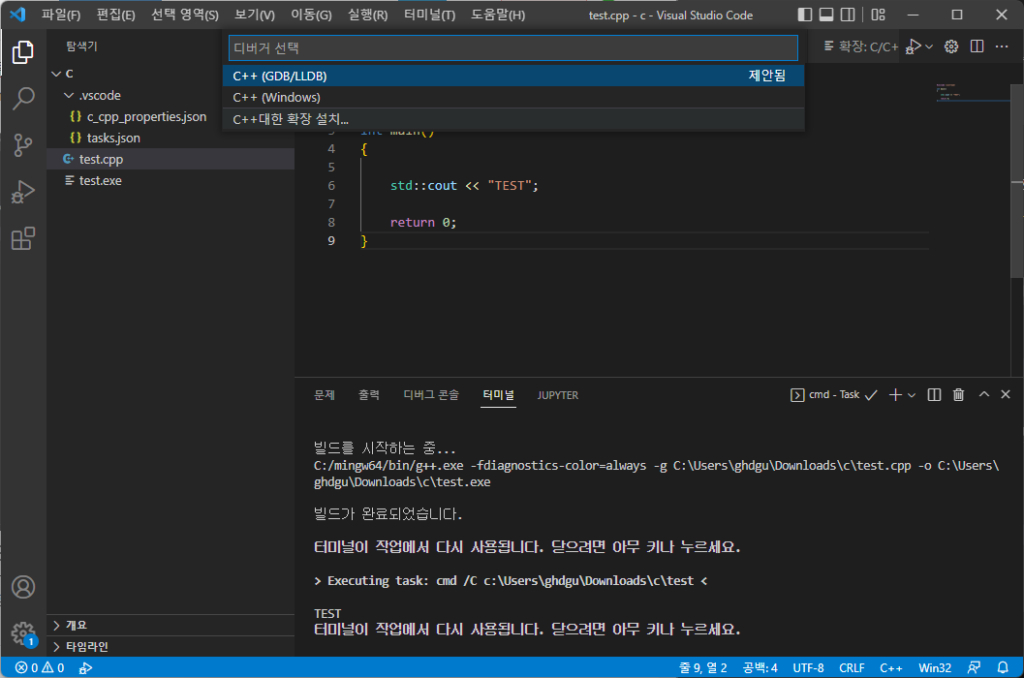
C++ (GDB/LLDB) -> g++.exe~ 를 선택해준다.
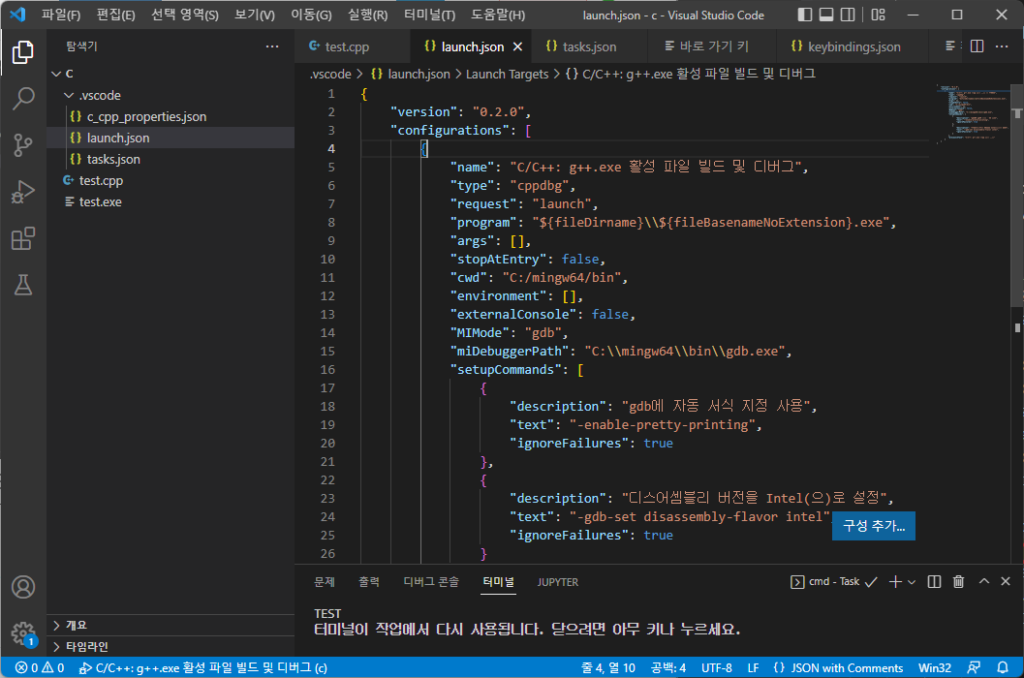
그럼 이렇게 launch.json 파일이 생성이 될텐데 이때 만약 g++.exe~ 까지 넘어가지 않고 C++ (GDB/LLDB)만 눌렀는데 launch.json이 생성되었다면
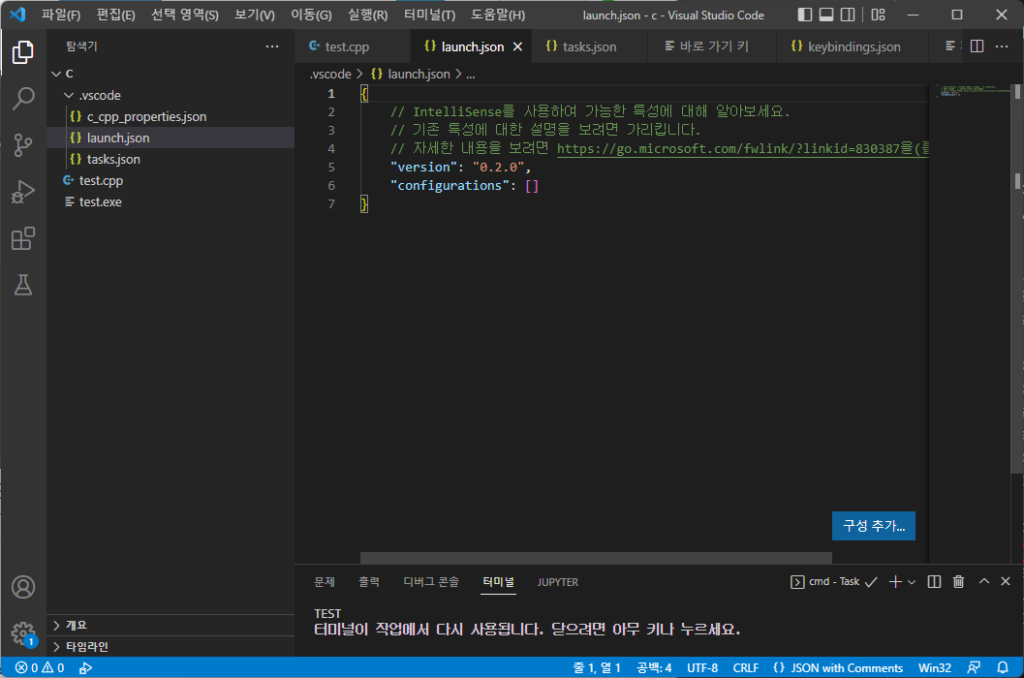
이렇게 내용이 비어있는 launch.json 파일이 생성이 될것이다.
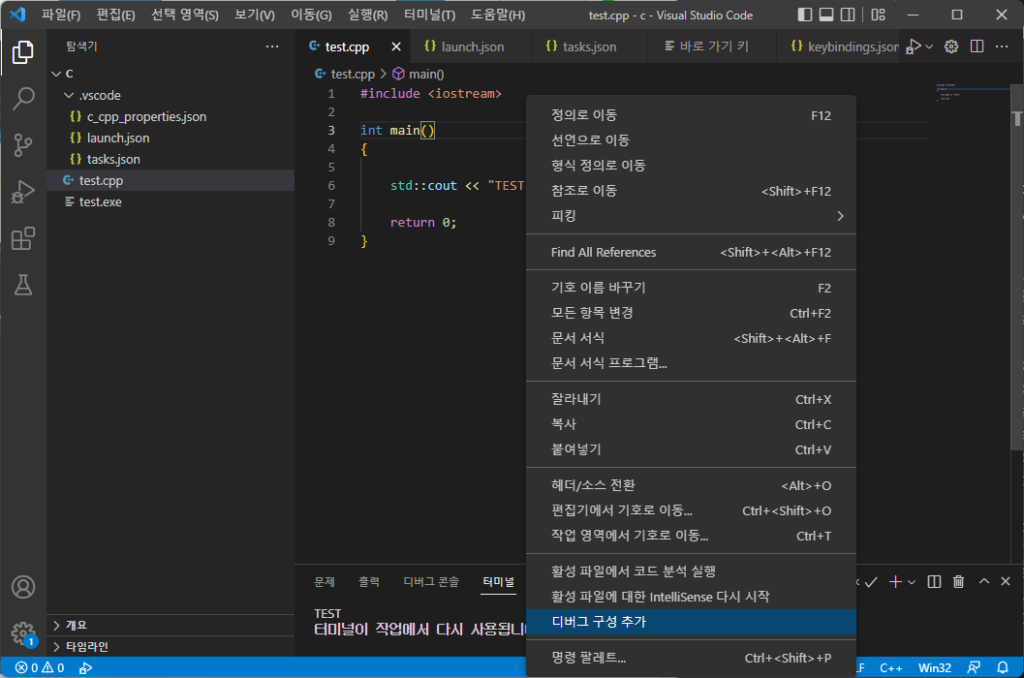
그럼 당황하지말고 다시 C/C++ 파일로 돌아와서 코드부분에 우클릭을 해주고 디버그 구성 추가를 눌러준뒤
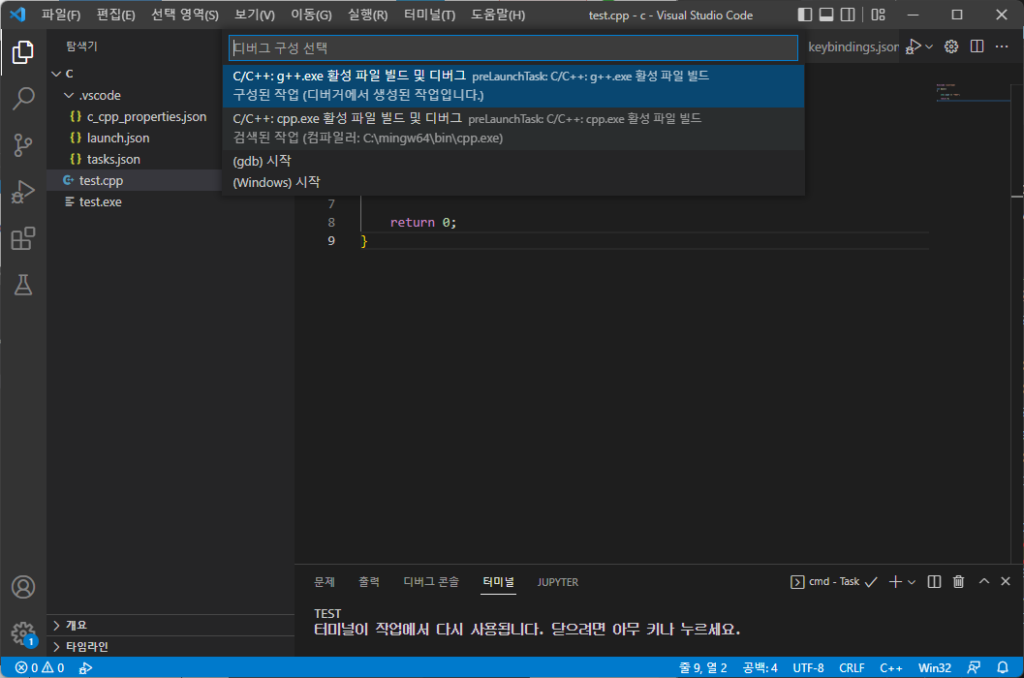
‘C/C++:g++.exe 활성 빌드 및 디버그’를 눌러주고 다시 launch.json 파일로 들어가주면
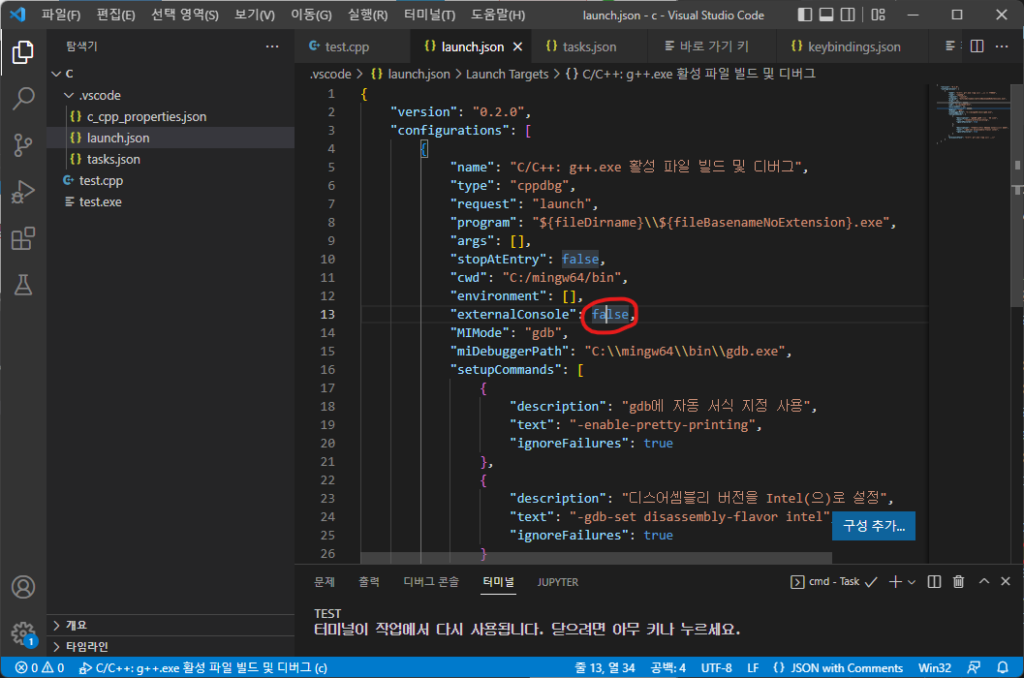
이렇게 launch.json 파일에 내용이 추가되게 되고 여기서 위에 이미지에 표시한 externalConsole의 값 false를 true로 바꿔 저장해준뒤
다시 C/C++ 파일로 돌아와 임의로 breakpoint를 지정해준 뒤 (코드 열 번호 좌측을 클릭해주면 됨)
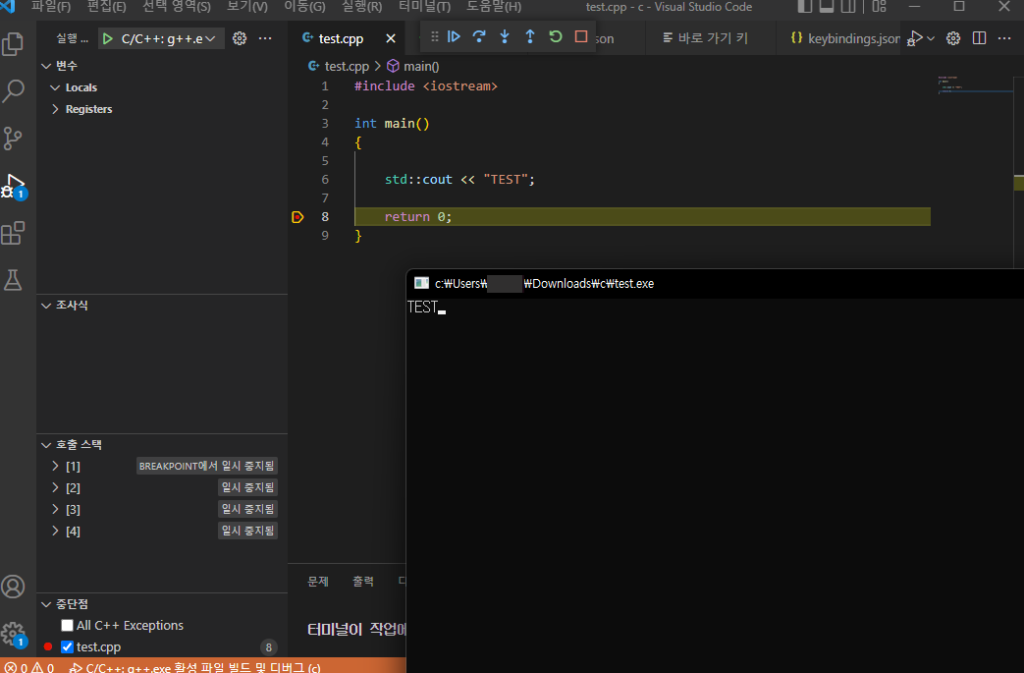
F5키를 눌러서 디버깅을 해보면 이렇게 cmd 창과 함께 디버깅이 되는 걸 볼 수 있다.
이때 breakpoint에서 다음줄로 넘어가고 싶으면 F11 키를 눌러주면 넘어갈 수 있다.